By Edward Goldin, DDS
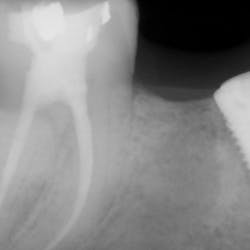
In today’s state of implant dentistry, simply achieving osseointegration and creating a functional restoration is not enough. Patients have come to expect highly esthetic results regardless of whether or not we are restoring teeth or implants. In the early days of implants, putting the words “esthetic” and “implants” in the same sentence might get you laughed off the podium. Today, it’s hard to find a lecture that doesn’t contain these two words together; times have changed.
Fortunately, the tools for achieving good implant esthetics are really no different from those necessary to achieve good esthetics on natural teeth. All the rules of provisionalization apply:
- Develop proper emergence profile.
- Establish proper tooth form.
- Establish proper occlusal scheme.
- Use materials that will support optimal soft-tissue healing. (This is the key to implant esthetics.)
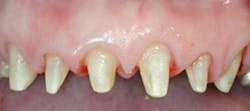
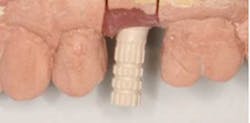
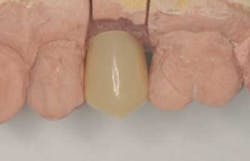
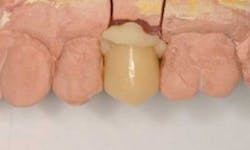
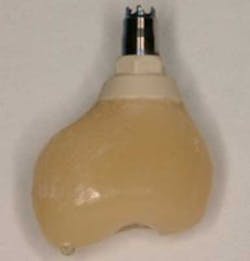
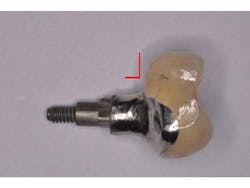
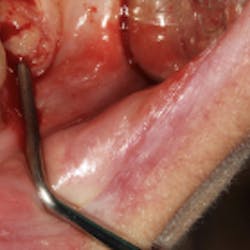
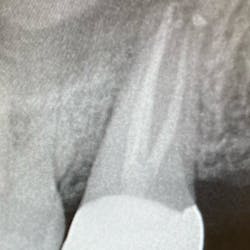
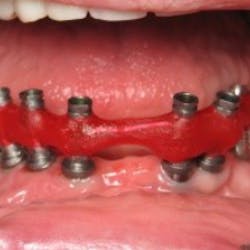
Optimal soft-tissue healing around provisional restorations on teethWhen it comes to implant provisionalization and final restorations, I prefer screw-retained restorations. This does require that implant placement is such that access is through the central fossa of posterior teeth and the cingulum of anterior teeth. Anything near the incisal edge will require either an angulated abutment or a cementable restoration. It’s true that screw-retained restorations do require a little more patience, but it will pay off in spades once you do a few.Here are a few easy steps to make a screw-retained implant provisional restoration that will set the stage for your final crown. This can be done in the mouth for immediate loading situations or after implant uncovering. These techniques can also be done on the bench top after an implant level impression and then delivered to the mouth.1. Place the screw-retained implant cylinder on the implant using the abutment screw.
2. Reduce the cylinder for adequate interocclusal space.
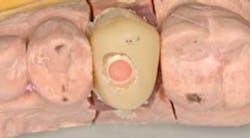
3. Place a cotton pellet in the cylinder to protect the screw and some red (colored) wax.
4. Choose a prefabricated crown form with appropriate dimensions for the space.
5. Fill prefabricated crown with autopolymerizing resin and seat over the abutment.
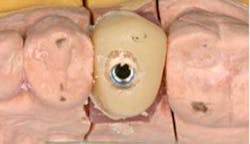
6. Drill access hole through central fossa until colored wax is visible.
7. Remove wax plug and cotton pellet.
8. Remove restoration now luted to temporary cylinder.
9. Polish and finish.
10. After one to two weeks of tissue healing around the polished provisional, the tissue is shaped and ready for impressions and final restoration.
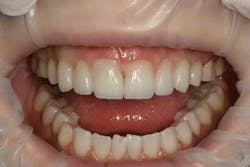
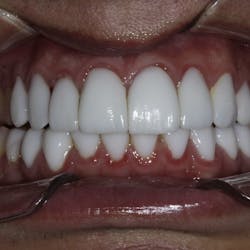
11. Final restoration in place with well-developed emergence profile and tissue contours.
Author bioEdward Goldin, DDS, graduated with high honors in biology from Bates College in 1995, recieved his DDS degree from Columbia in 2001, and was inducted into Omicron Kappa Upsilon (OKU), the national dental honor society, that same year. Dr. Goldin then received his certificate in prosthodontics from NYU, where he was awarded an ACP education foundation scholarship in 2004. In 2006, Dr. Goldin completed the implant fellowship in both surgical placement and restorative techniques at NYU. He is currently an assistant professor of clinical dentistry in both the prosthodontics department and periodontics/implant departments at NYU and has had his research published in the Journal of Prosthetic Dentistry. Dr. Goldin is an active lecturer both nationally and internationally on prosthodontics and implant dentistry. He spends one day a week at NYU and four days a week in private practice in Manhattan.

